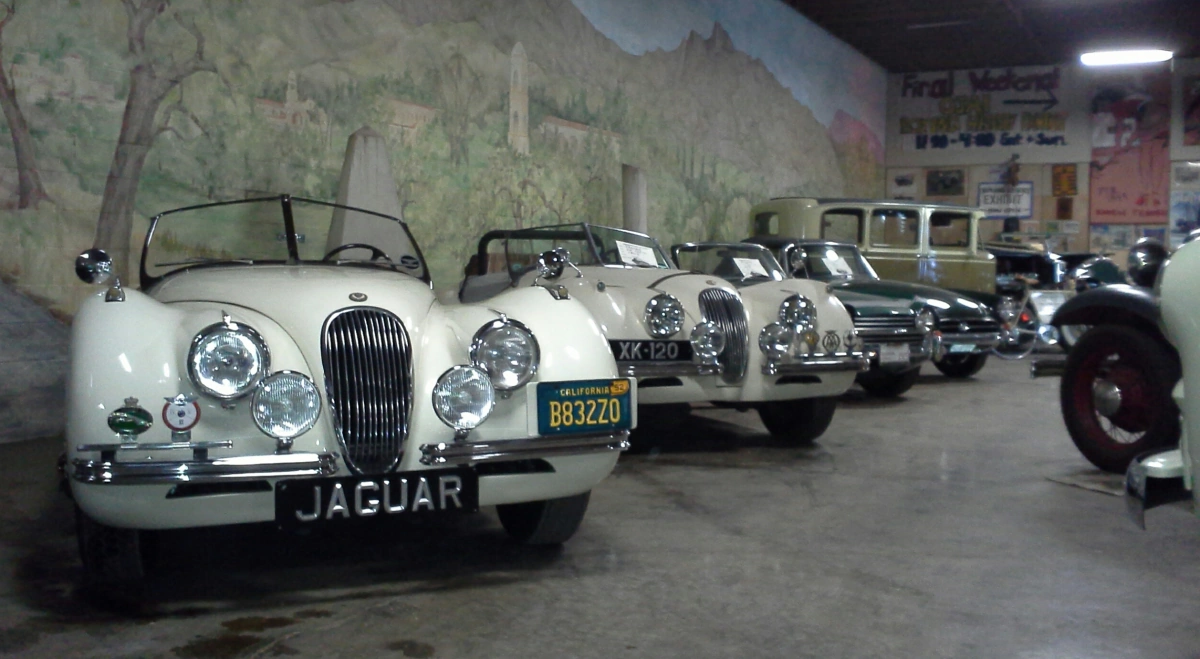
(Left) Bob Sheridan’s 1952 XK120 next to Dwayne Bower’s 1954 XK120 in the Bower Garage, Ojai, CA
Bob Sheridan’s 4-Year XK120 Restoration Journey
Brief Summary
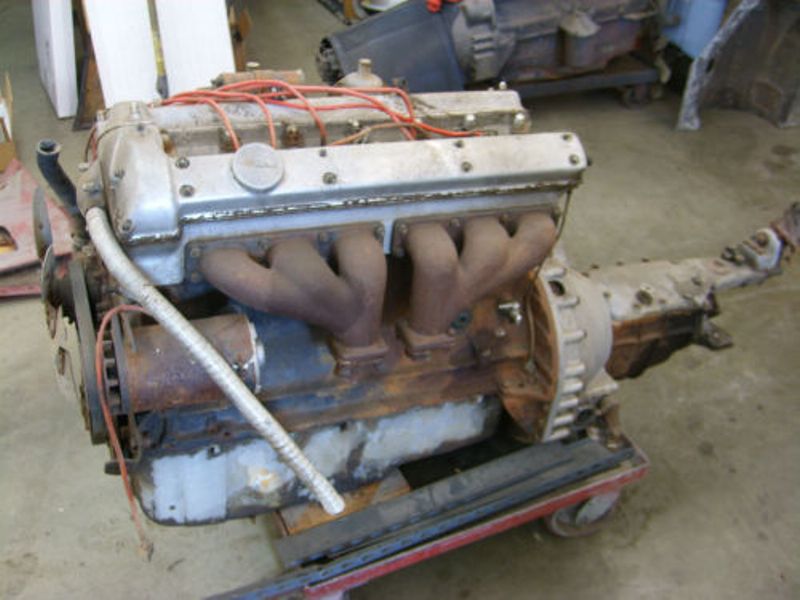
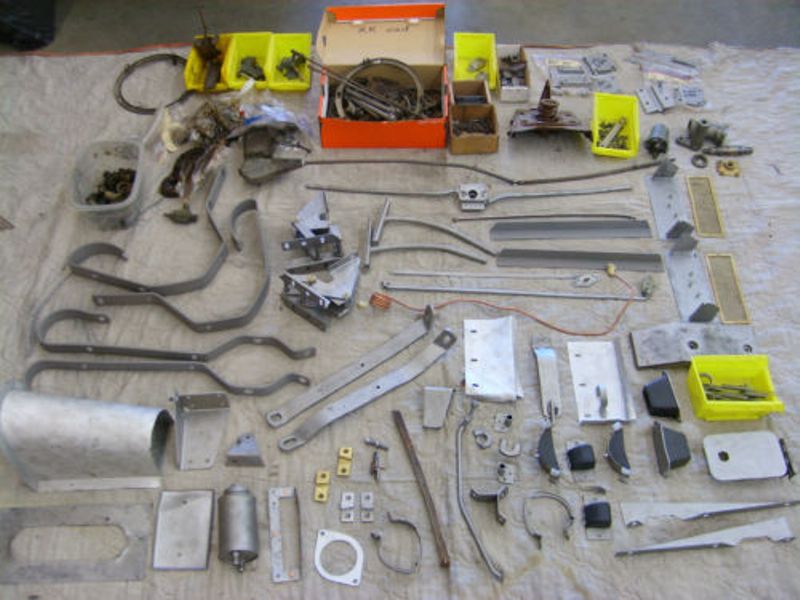
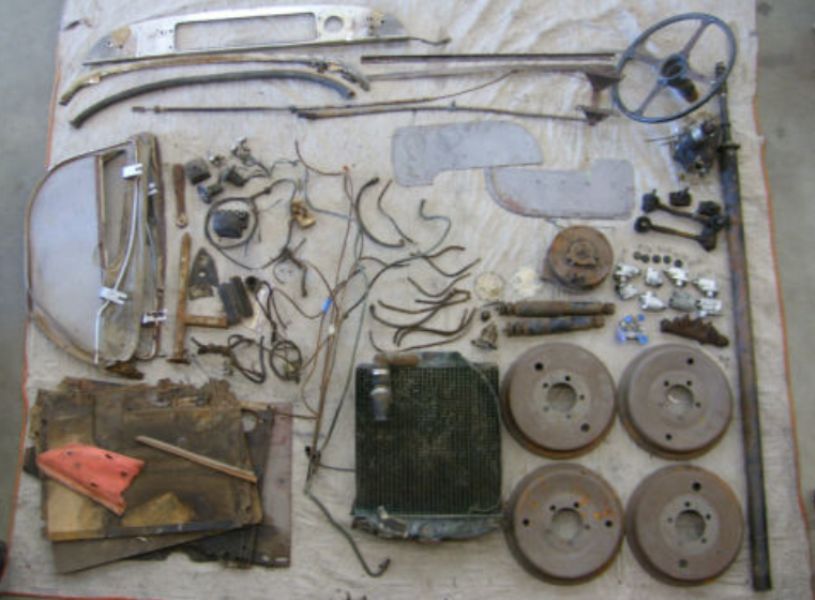
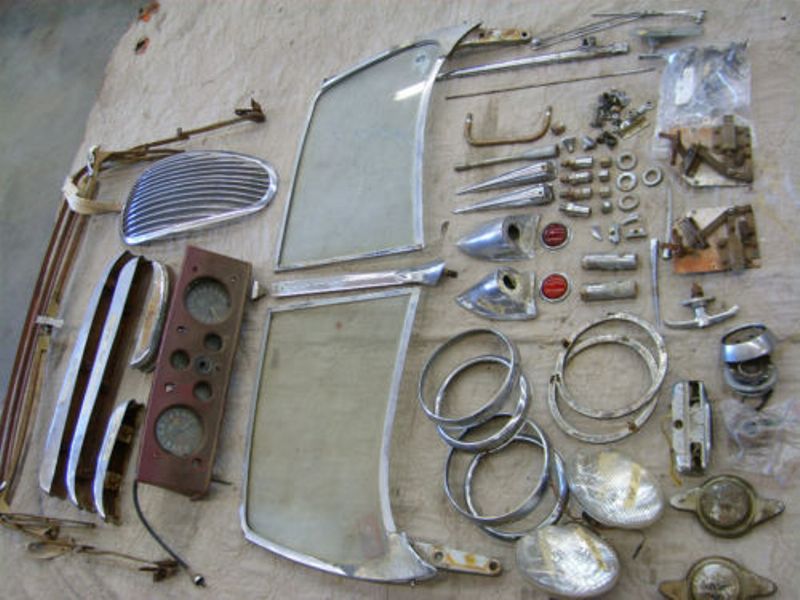
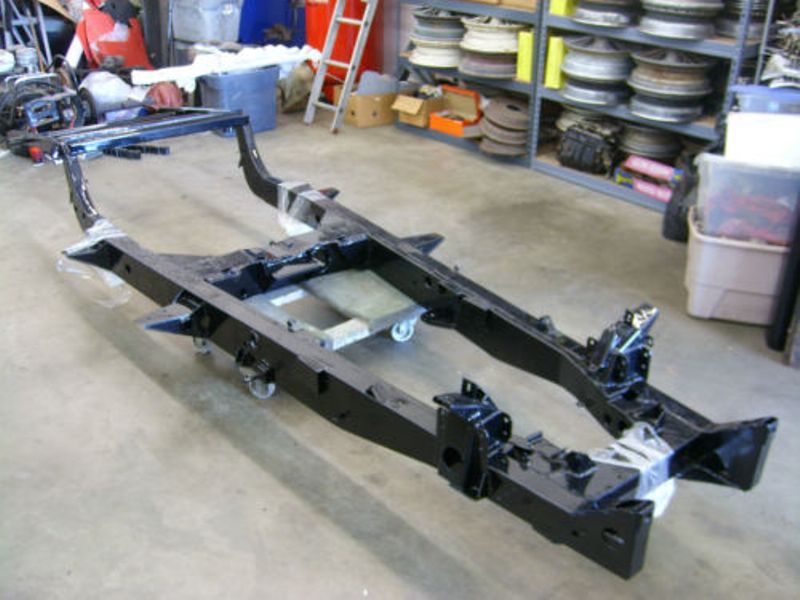
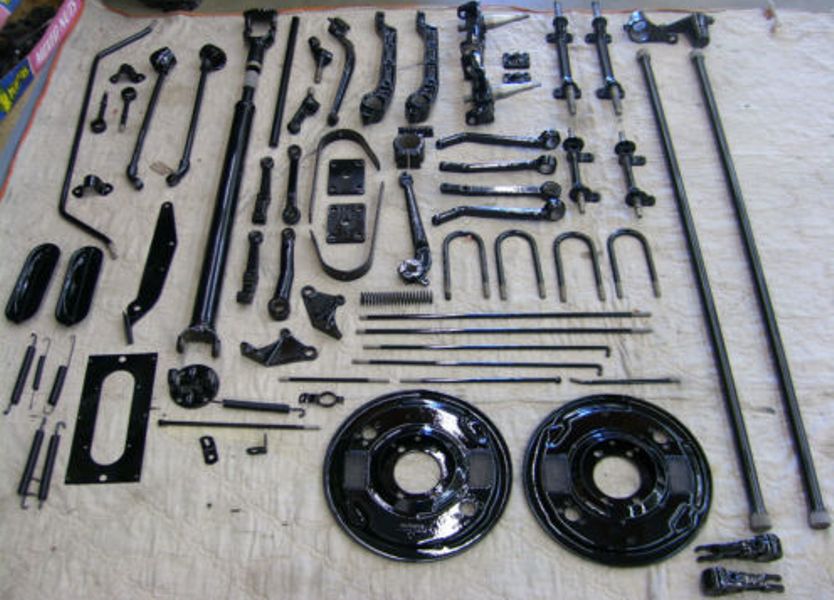
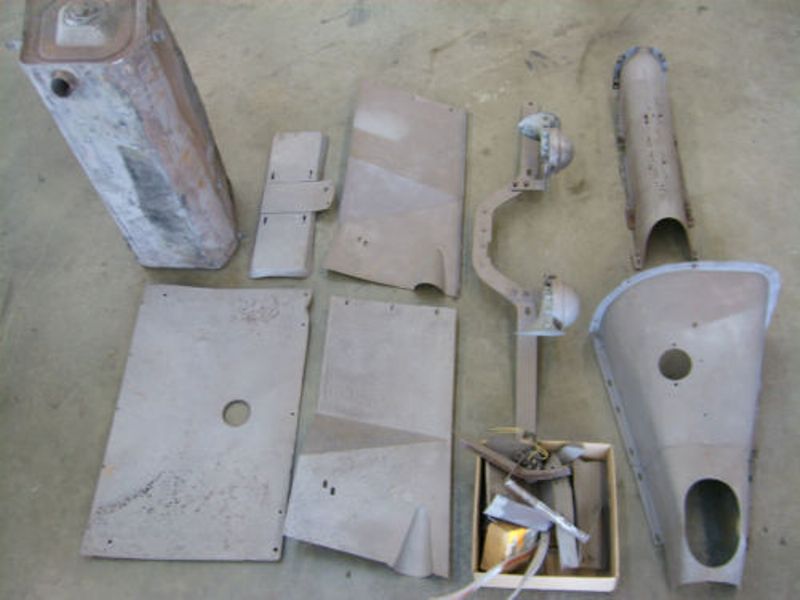
I purchased my XK120 completely disassembled for $38,000.00 in 2012 from an Austin Healy restorer in Claremont, CA. The chassis was completely stripped down and came with several buckets and boxes of nuts, bolts, small parts and all the other original parts needed for the car. Even the ball bearings were removed from the steering box.
With no restoration experience at this level, I spent several months in my garage re-assembling everything back onto the chassis. I started by reassembling the front suspension, shocks and front brakes then installed the rear-end suspension system, shocks and rear brakes. I reassembled the steering box and installed the steering assembly on the chassis, then I installed the fuel tank, fuel line, fuel pump and exhaust system. Next, I installed new brake lines and a new brake master cylinder and emergency brake on the chassis. Meanwhile, I sent the cylinder head and SU carburetors out to be rebuilt. Upon return, I reassembled the rebuilt cylinder head and carburetors to my engine, I painted my engine block, rebuilt the distributor, installed the water pump and fan blade, new sparkplug wires from the distributor coil going along the block and coming up from the rear-end of the cylinder head, on to each spark plug.
Next, I installed a new clutch plate to the flywheel and attached the transmission to the engine bell housing. Finally, I installed the engine and transmission onto the chassis then fitted new U-joints to the drive shaft, attached the drive shaft to the transmission and rear-end. At that point I had a rolling chassis. Ironically, I am not mechanically inclined, just very patient and methodical. Performing some the above steps were somewhat difficult for me to do. I relied on guidance from a friend named Mike May, (one of the original founders of XK’s Unlimited now called Moss Motors), when I got stuck. Mike owned and has restored several Jaguar XK120’s and owned 2 XK120 alloy models at the time. He now lives in northern Washington and appears on YouTube videos from time to time.
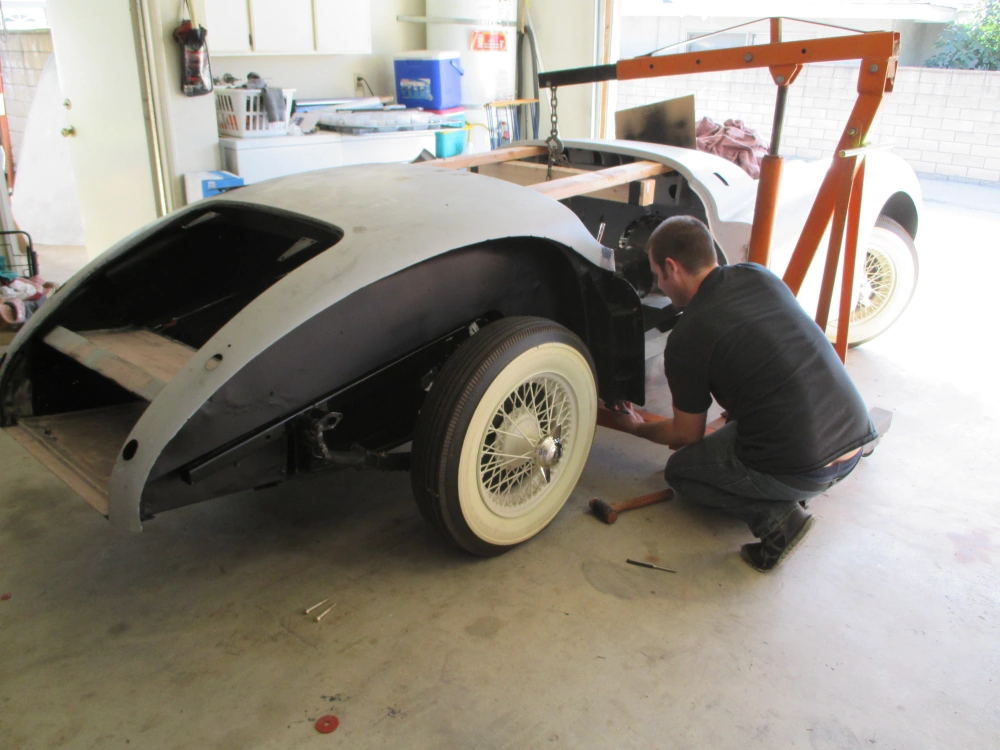
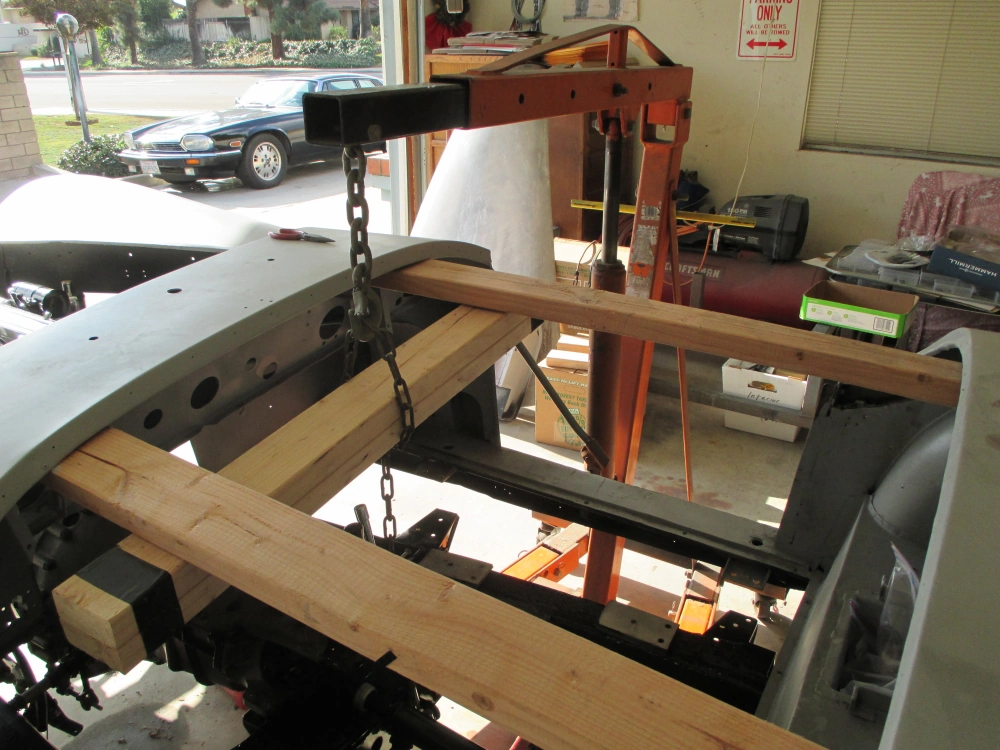
My son Jason helped my to install the body onto the chassis. It was a fairly process. Before starting, I had to remove the steering column, then place 2 x 4 wood braces inside the cockpit so the engine hoist had something to grab onto. Luckily, when I raised the body off of its metal mount, it was balanced at each end. We wheeled the body over to the chassis and my son guided the body onto the chassis mounting points as I slowly lowered it down onto special body mounts. It took less than one hour to do. I bolted the body to the chassis, reinstalled the steering tube assembly and steering wheel then installed the fuel filler tube to the gas tank. Next, I installed the clutch and brake pedals, hooked up the emergency brake handle, installed the radiator and the brake fluid canister. Finally I added new brake fluid and bled the brakes. I probably missed a couple of steps.
In the early stages I made a few corny restoration videos that appear below.
The next phase of my project was to take the car up to my best friend Dwayne Bower, in Ojai (pronounced Oh-Hi), California for bodywork and painting, Dwayne has collected cars since he was 10 years old and now owns over 100 cars, trucks and motorcycles. At the time, Dwayne owned a Zee Medical distributorship. In addition to his Zee Medical sales force, Dwayne had a full-time mechanic, metal worker, expert body shop guy to help restore his cars and a general ranch hand to maintain his 19-acre citrus grove and horses.
So after months went by, my car had considerable body work done, doors, boot and front bonnet properly fitted. Finally, the car was painted British White,
After paint work was done, I installed all the newly re-chromed brightwork (bumpers, etc.), assembled the front windshield glass into the chrome frames, installed the window wiper assemblies and the window wiper motor onto the car. I installed the front and rear bumper brackets and chrome bumpers, the fuel filler door chrome lock, the rear brake lights, the boot (trunk) lock, the license plate holder and the backup light. I aligned the doors, installed the wooden floor panels, metal seat slides and the front seats.
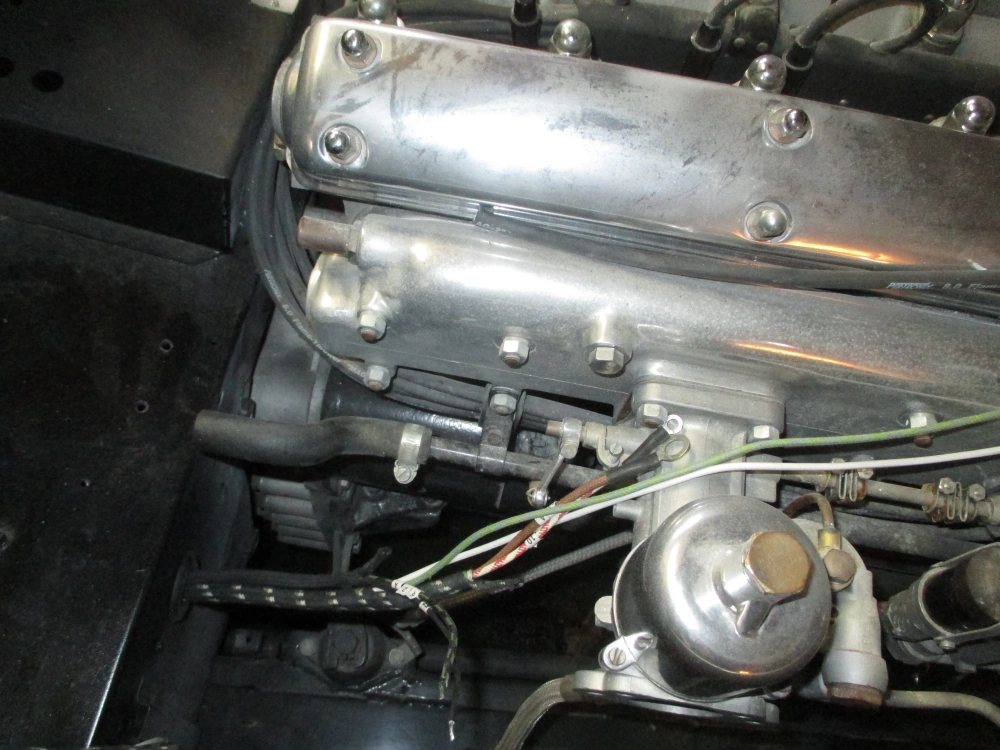
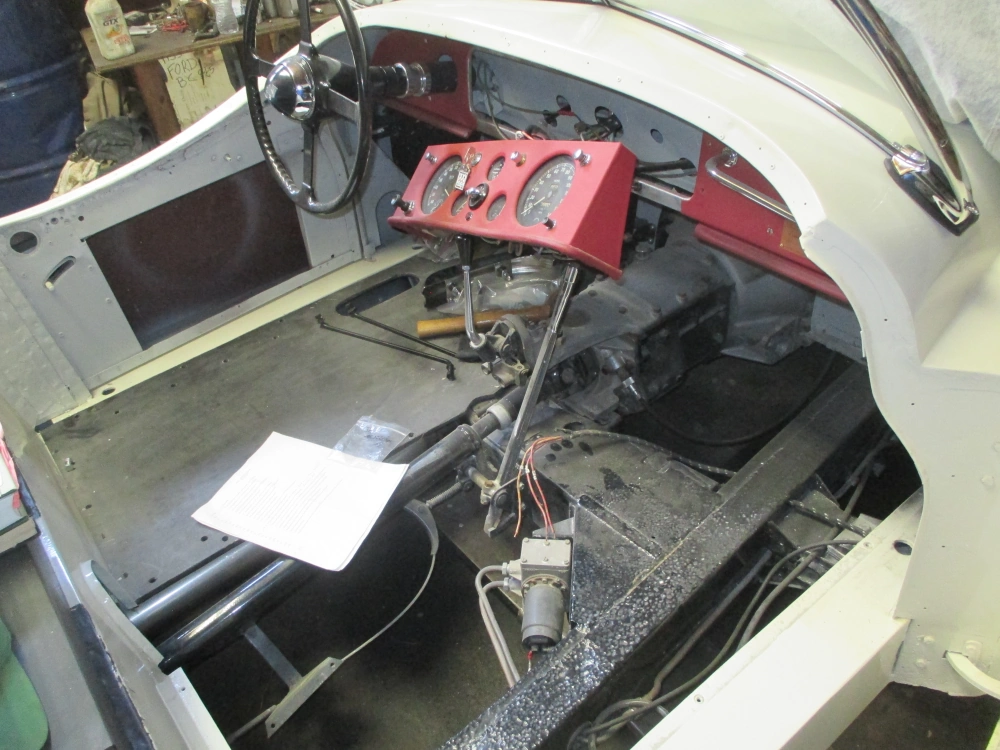
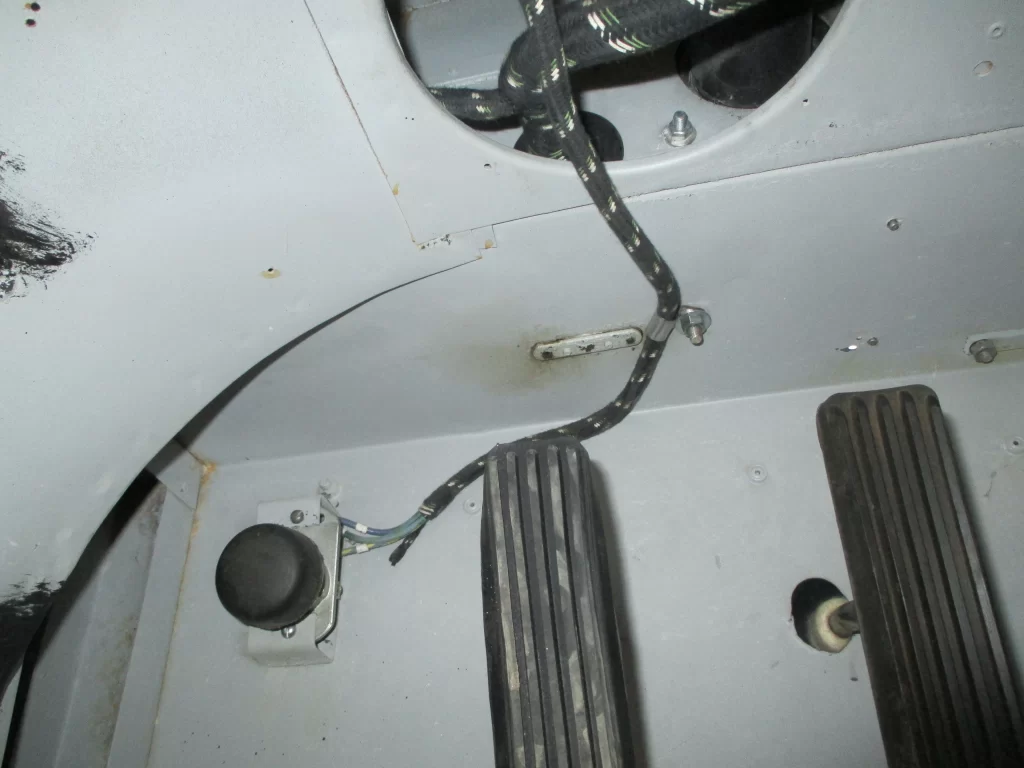
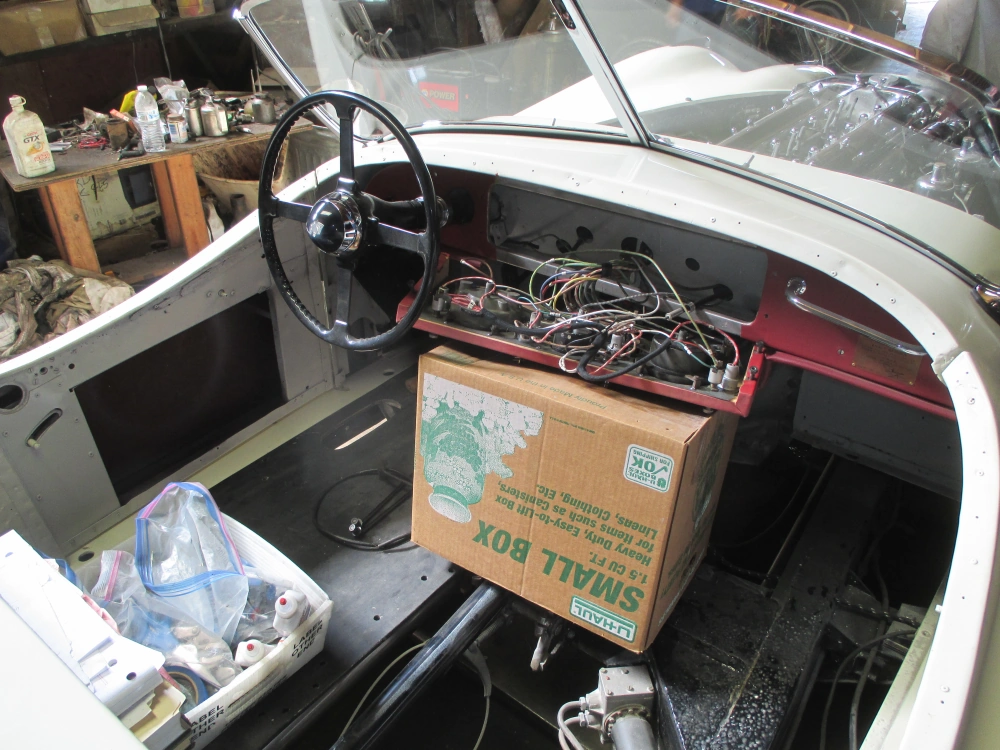
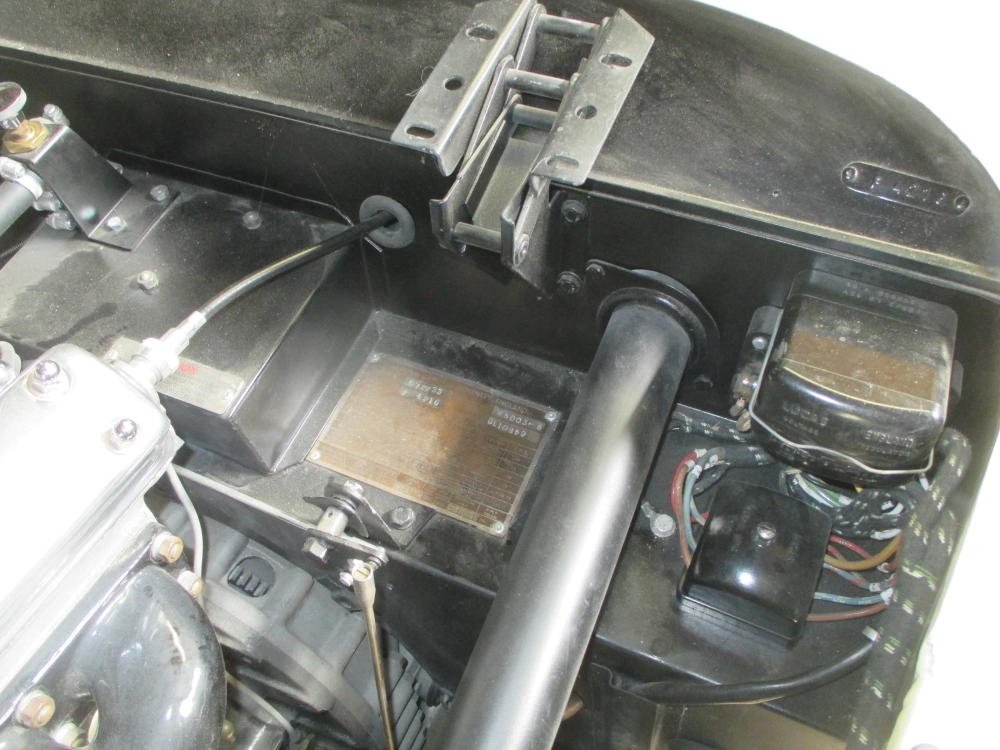
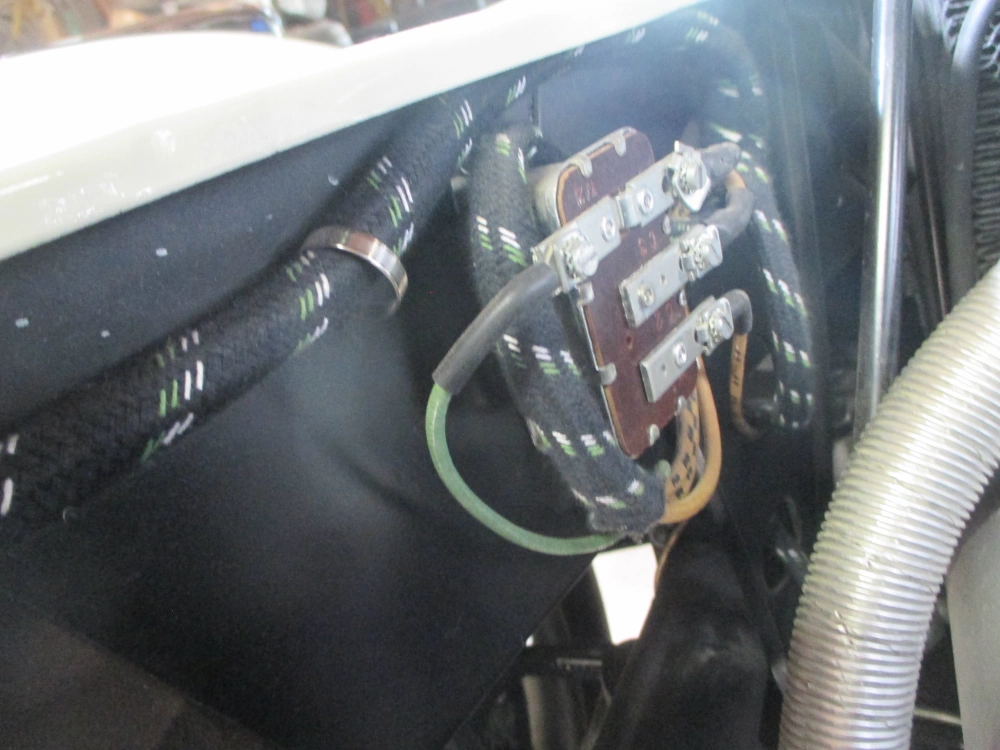
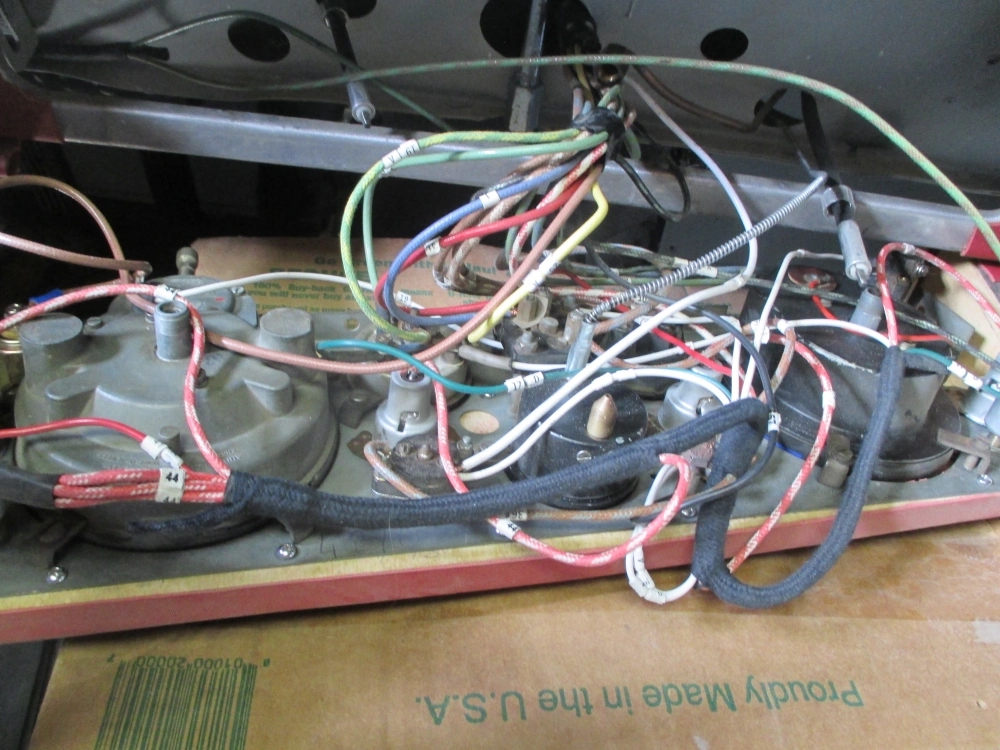
Next, I installed several electrical wiring looms for headlights, fog lights, side lights and horns. Engine compartment wiring, which connects to the instrument panel (exterior lights, panel lights, gauges, ignition switch and wiper switch). I installed a wiring loom from the transmission to the rear backup light and license plate light. Also, wiring looms to the rear running and brake lights, boot (trunk) light and finally, I installed an original correct rebuilt Jaguar radio. Not being mechanically inclined, installing the wiring loom was a tedious job. However, I had experience by previously installing a similar set of wiring looms on my first Jaguar XK120 (a 1951 model), back in 1985-1986, during restoration.
After I finished wiring the car, amazingly it started right up and everything worked!!! I had to tweak the engine timing and carburetors a little but that was to be expected. The last step was to install my California license plates.
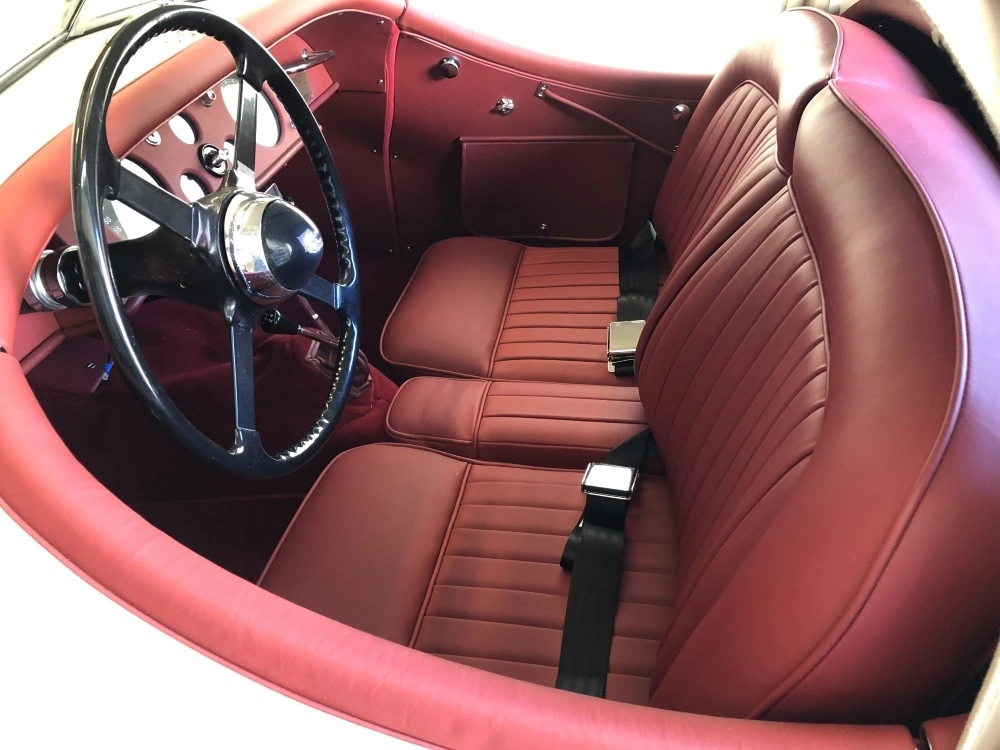
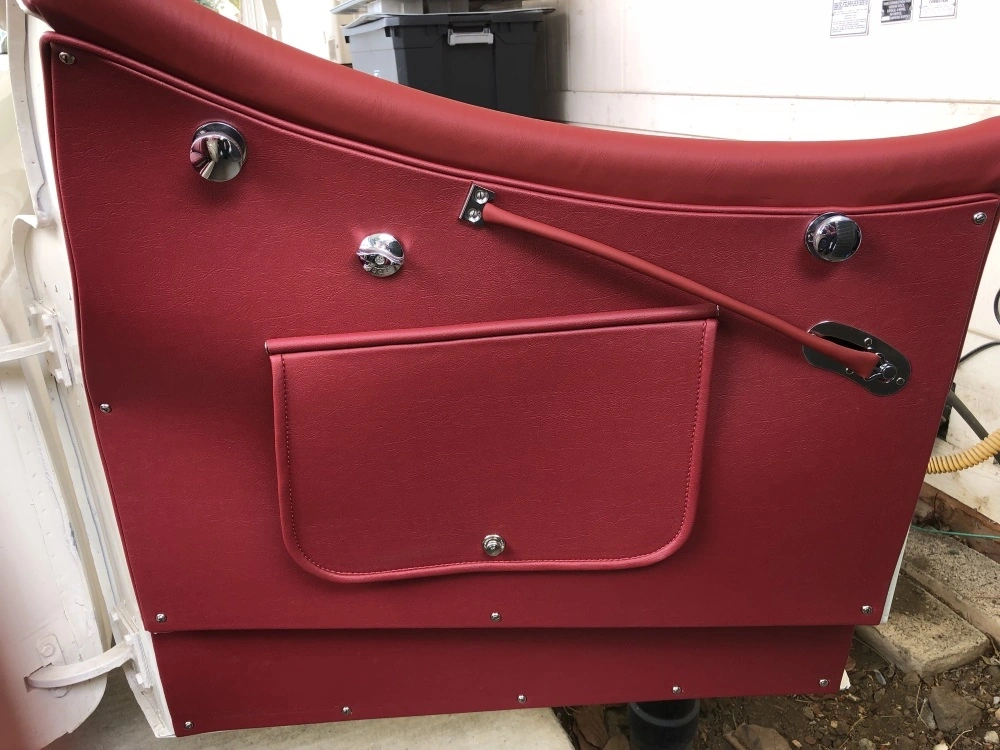
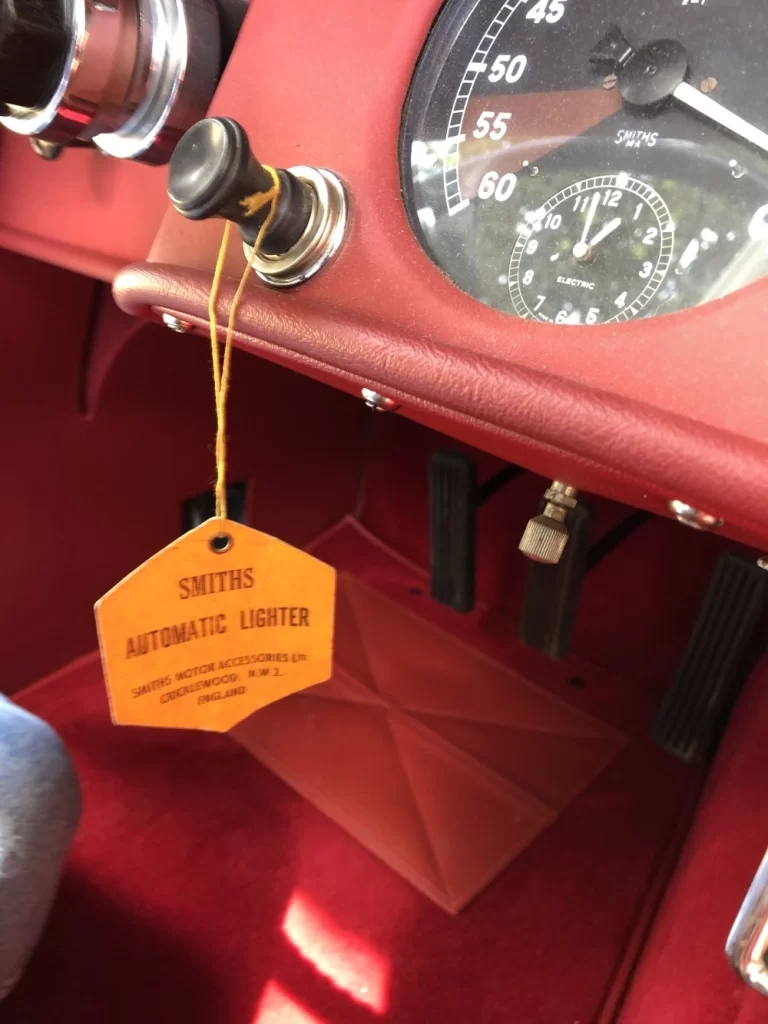
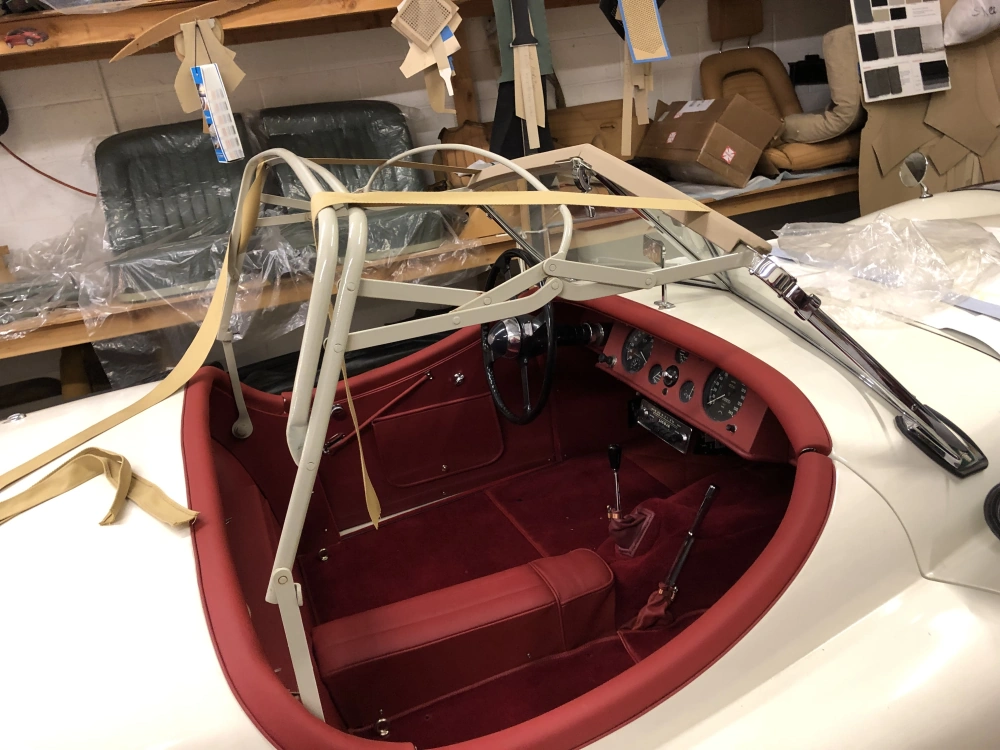
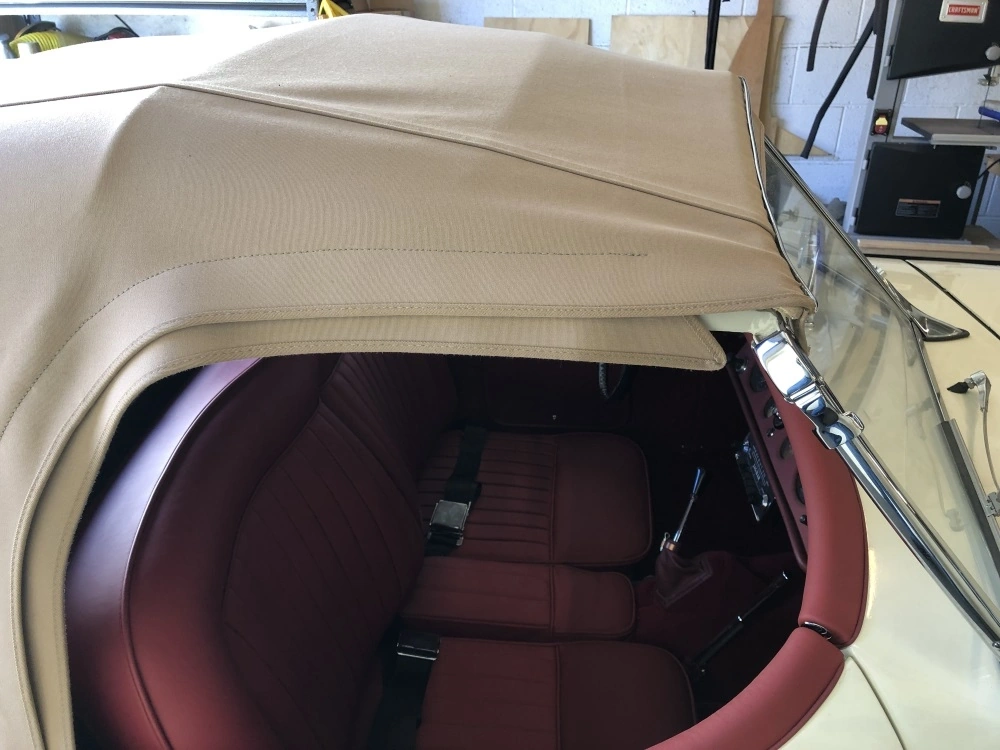
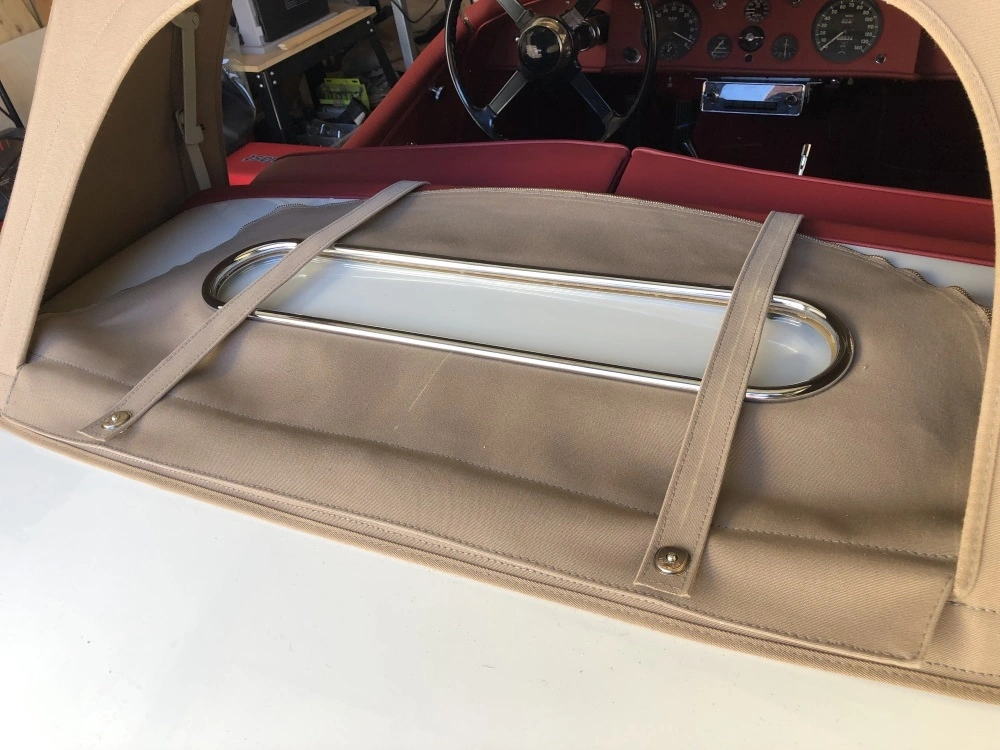
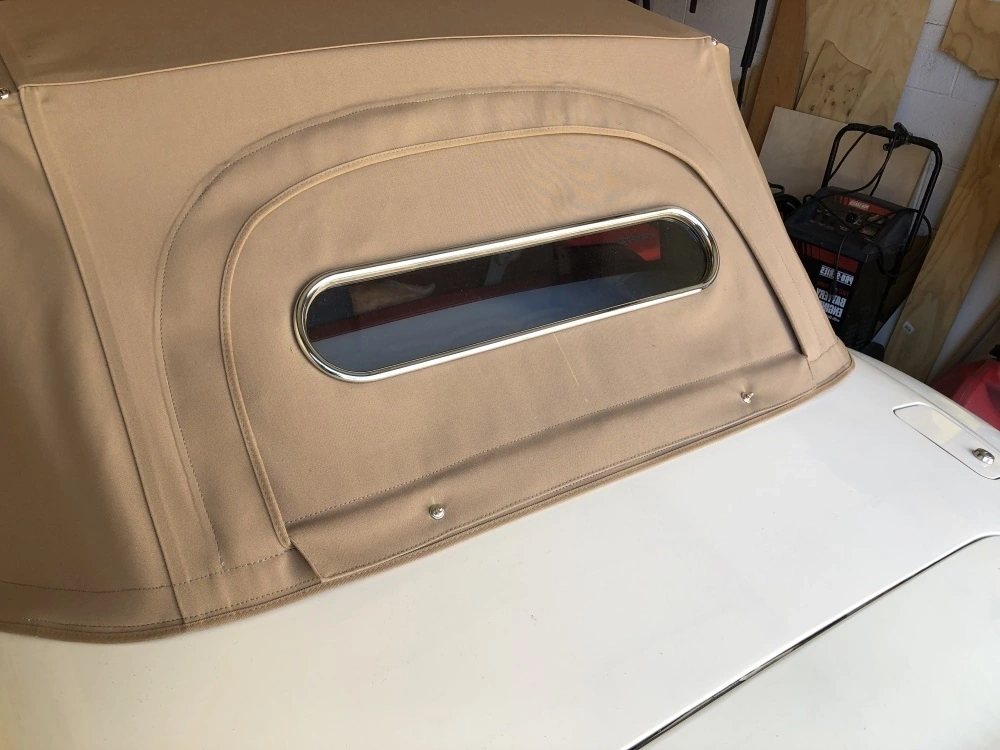
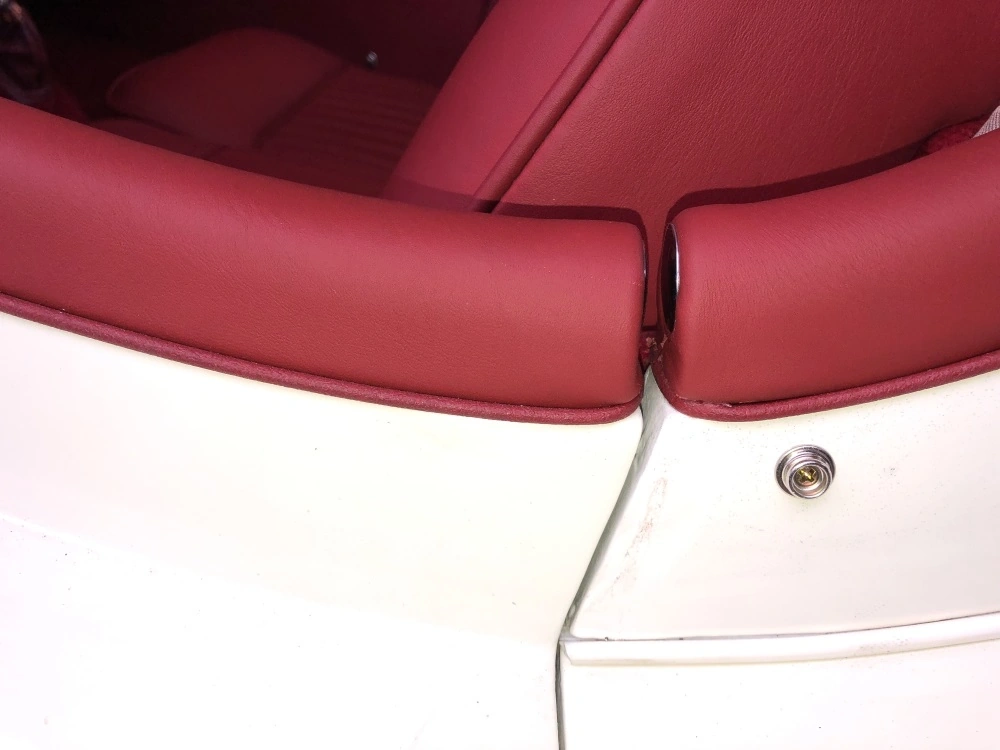
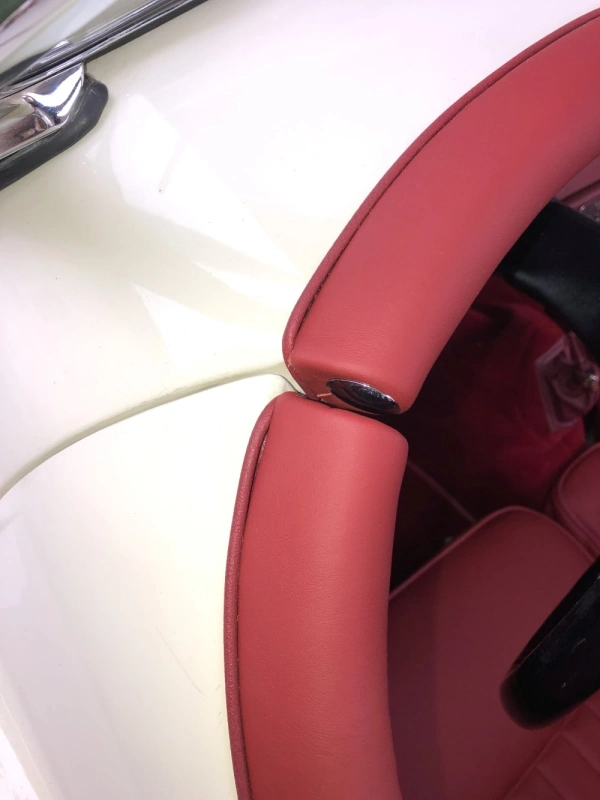
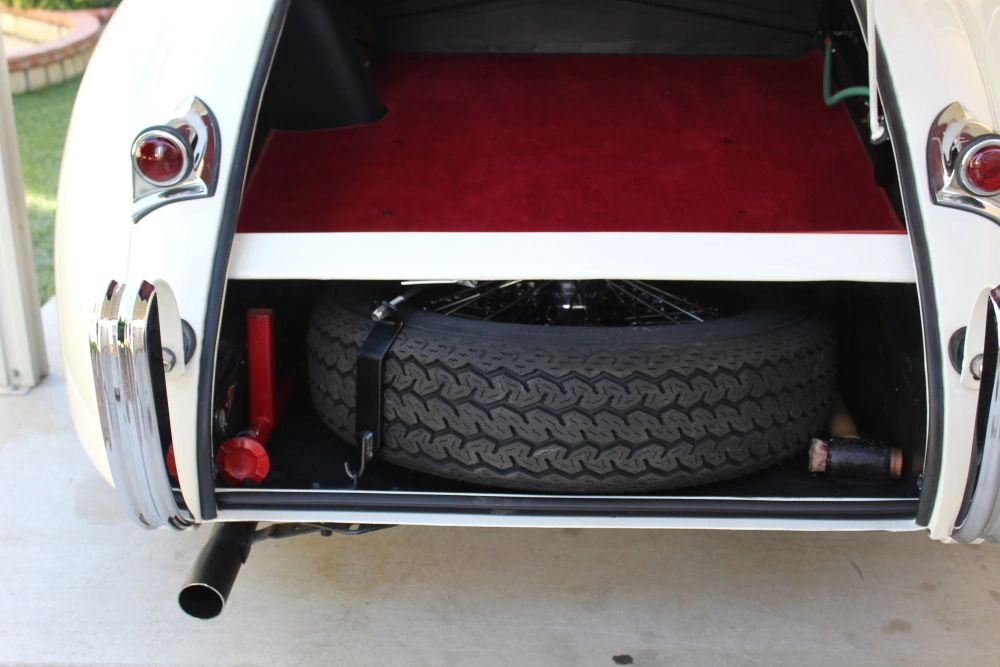
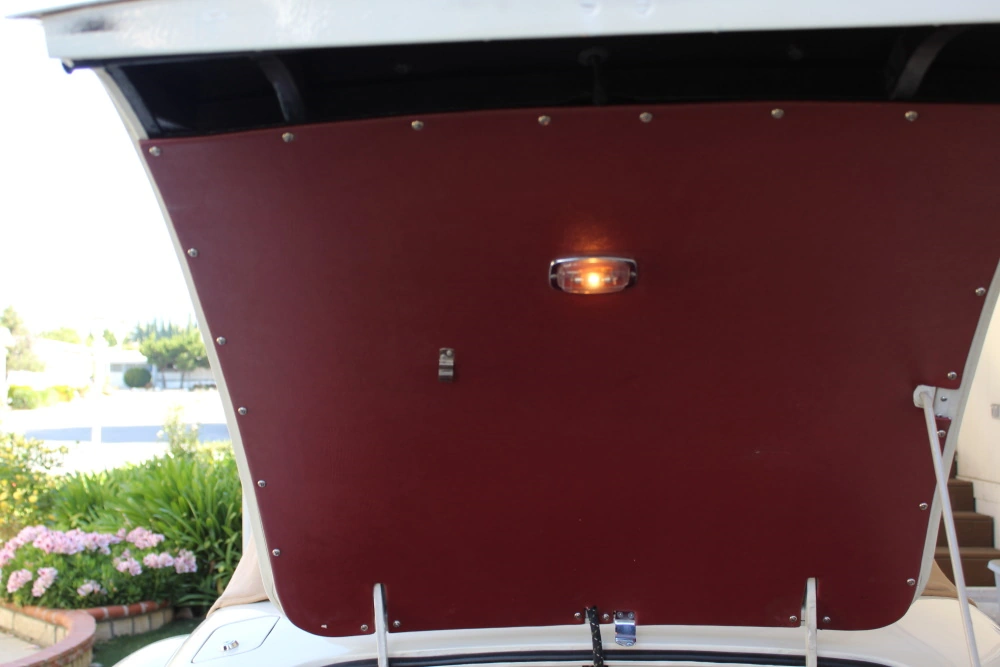
After I had a running car, I delivered it to an auto-upholstery shop in Van Nuys, California, specializing in exotic cars. The car was fitted with an authentic style-2 convertible top, side curtains, floor carpeting, boot carpeting, front seat, door side panels, dash panels, crash rolls, boot lid interior and battery box upholstery. It cost a boat-load of money but was champion class work. NOTE: I am the author of the official JCNA Jaguar XK120 Judges Guide, so I made sure all the upholstery work was 100% correct for champion class judging.
Would I do another restoration like this one? If I was a younger man – yes! I have restored many Jaguars over the years. In most cases, much of the work (bodywork, painting, engine, upholstery) is work performed by a professional. My pleasure comes from re-installing and hunting for original items such as literature, tools badges, etc. to install.
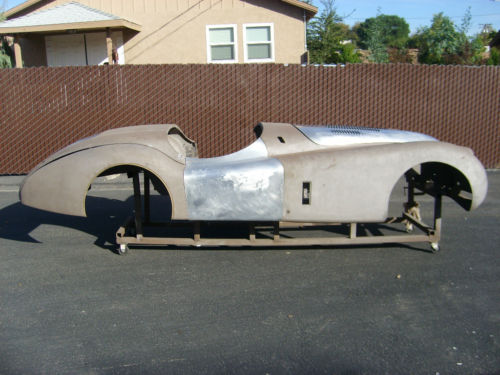
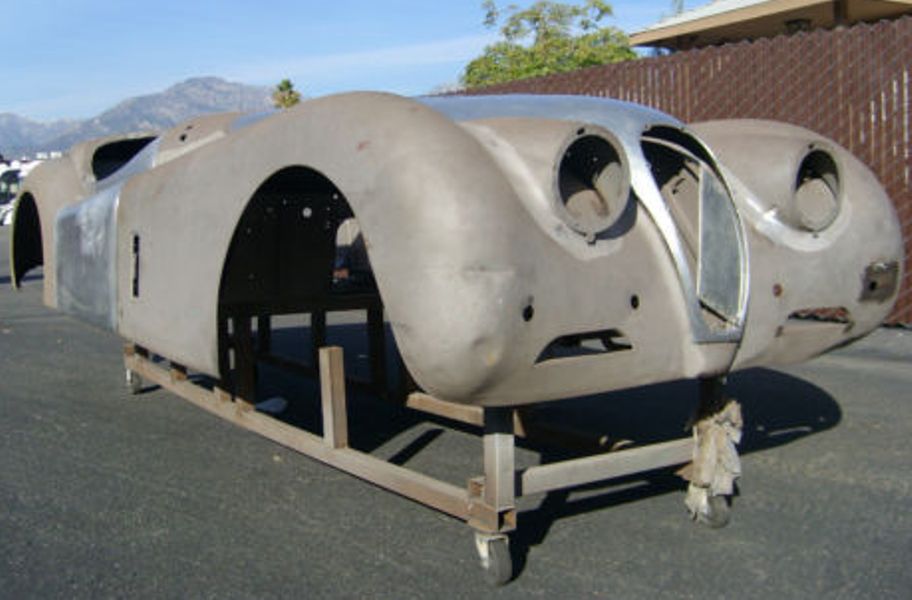
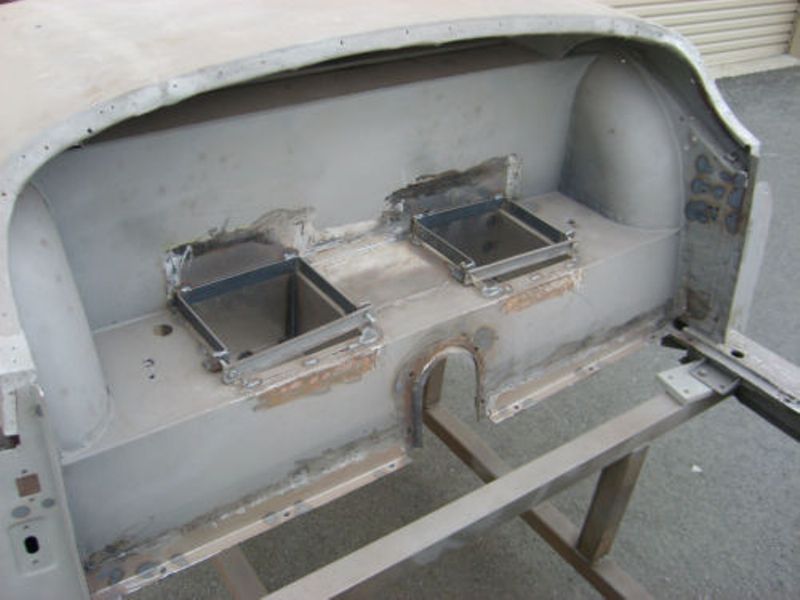
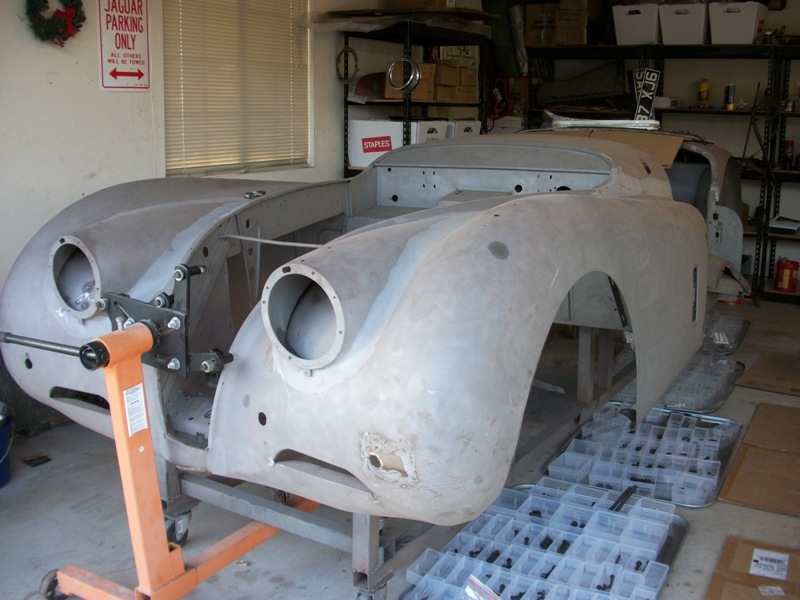
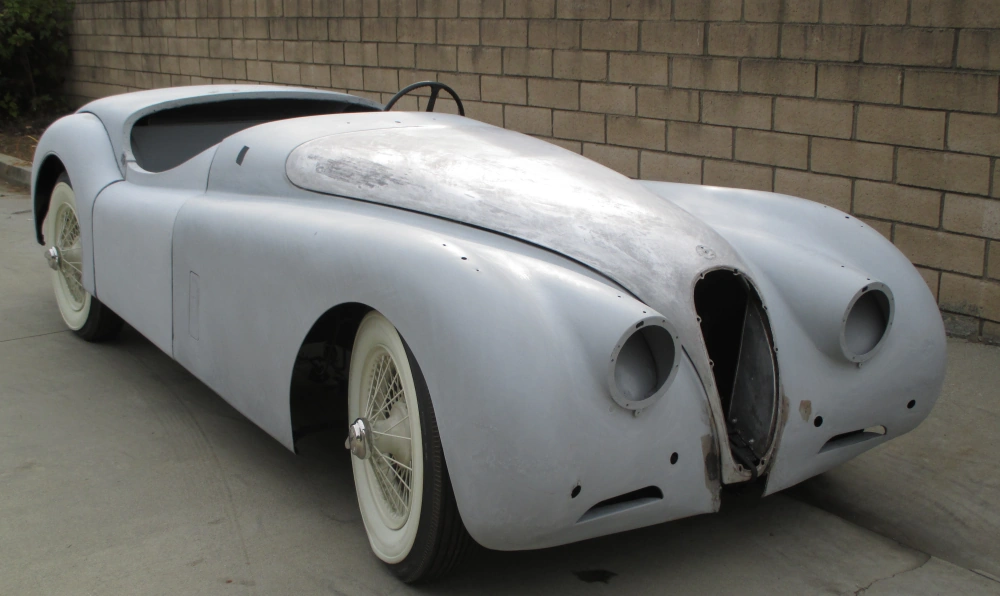
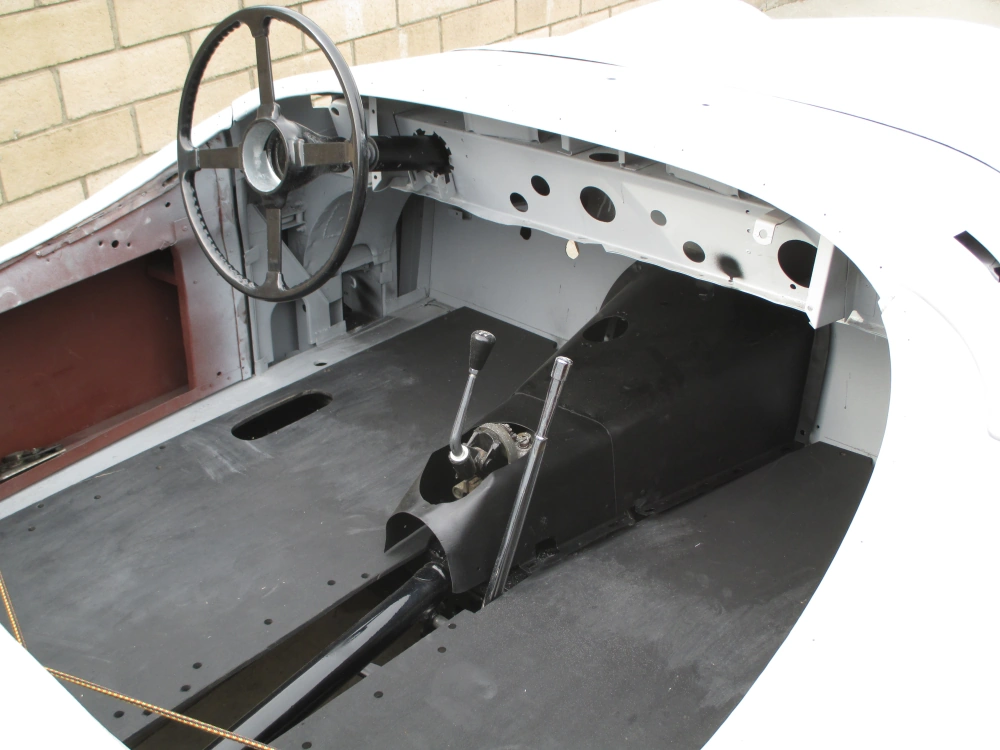
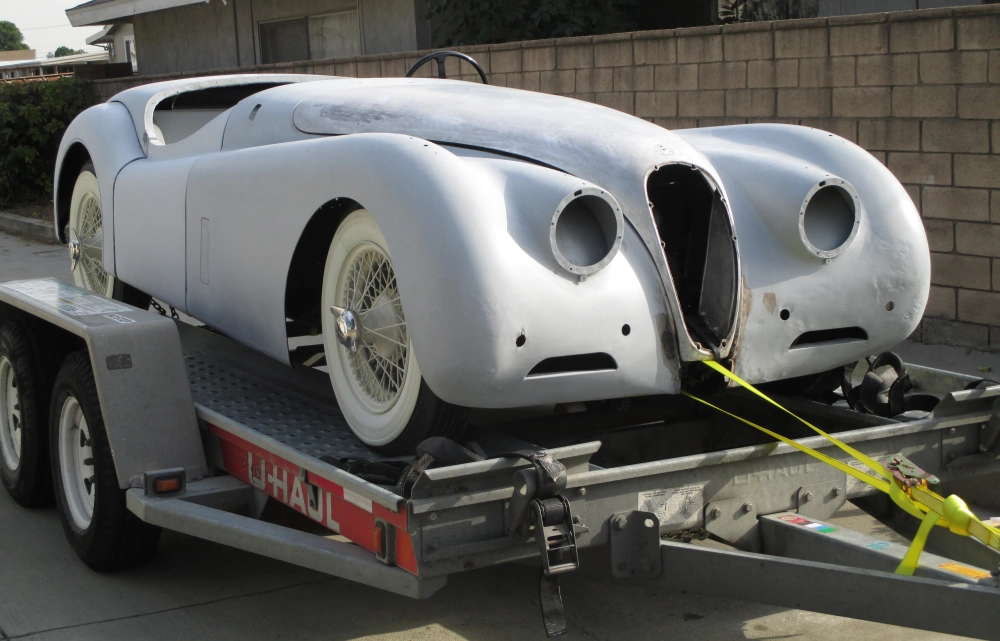
After moving from California to Florida 3-years ago, (my wife is from Florida) I decided to upgrade my XK120 for driving on the Florida highways and enjoy my car by driving it as opposed to showing it for JCNA scoring. So I have swapped out the XK120 transmission for a 5-speed Tremec, swapped out the XK120 radiator for an aluminum version, swapped out the XK120 generator for an alternator, swapped out the Jaguar distributor for an electronic ignition system and installed an electric fan in front of the radiator. (See pictures below of what I started with). My wife thought I was nuts to buy something so taken apart but I had a vision in my mind of how beautiful this broken down car would be fully restored. The car needed to be reborn and I was willing to spend the time and money to bring it back to life!
1952 Jaguar XK120 Pictures – Before Restoration

Restauration Progress – Corny Videos
Additional Restoration Pictures
It’s Alive! It’s Alive, said Dr. Frankenstein!
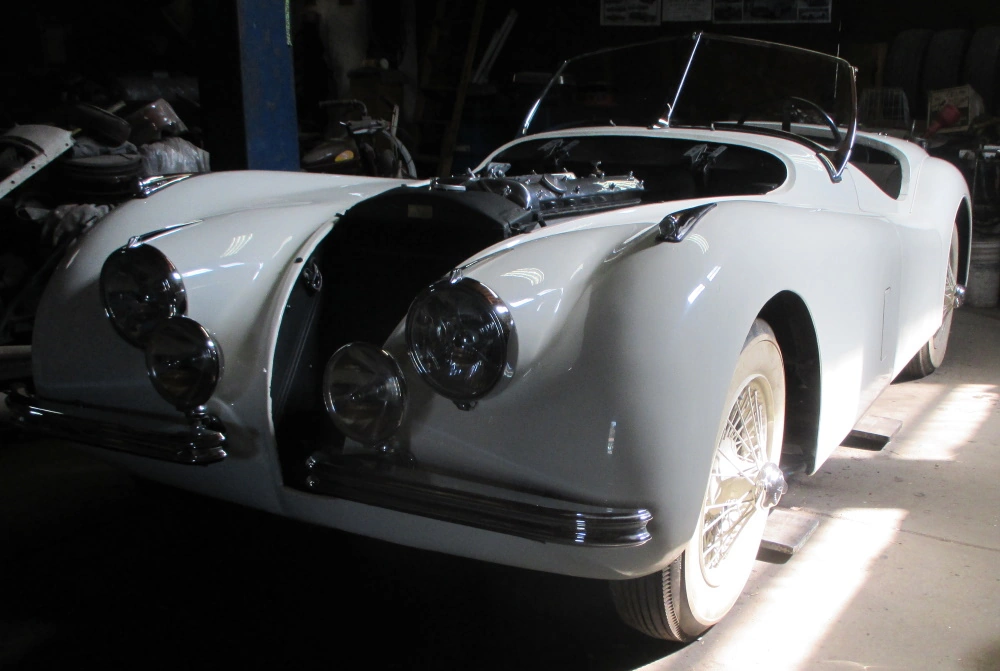
NOTE: The young man in 2 photo’s below, is my son Jason.
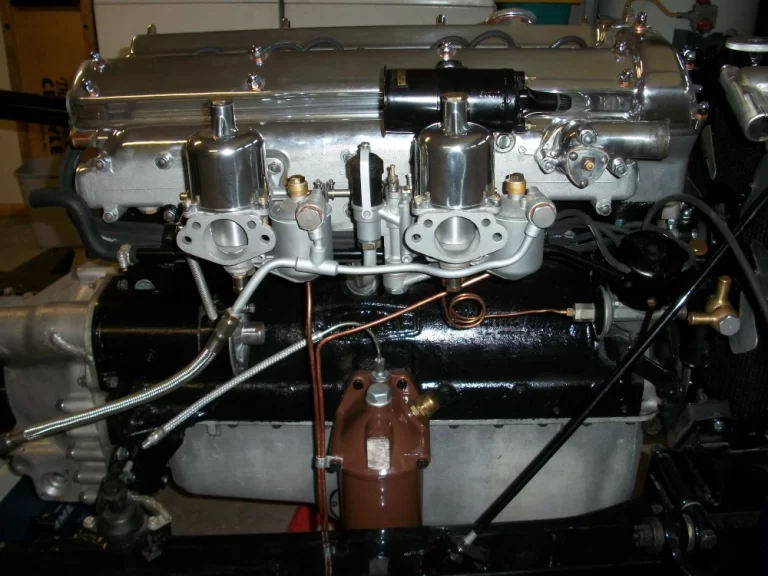
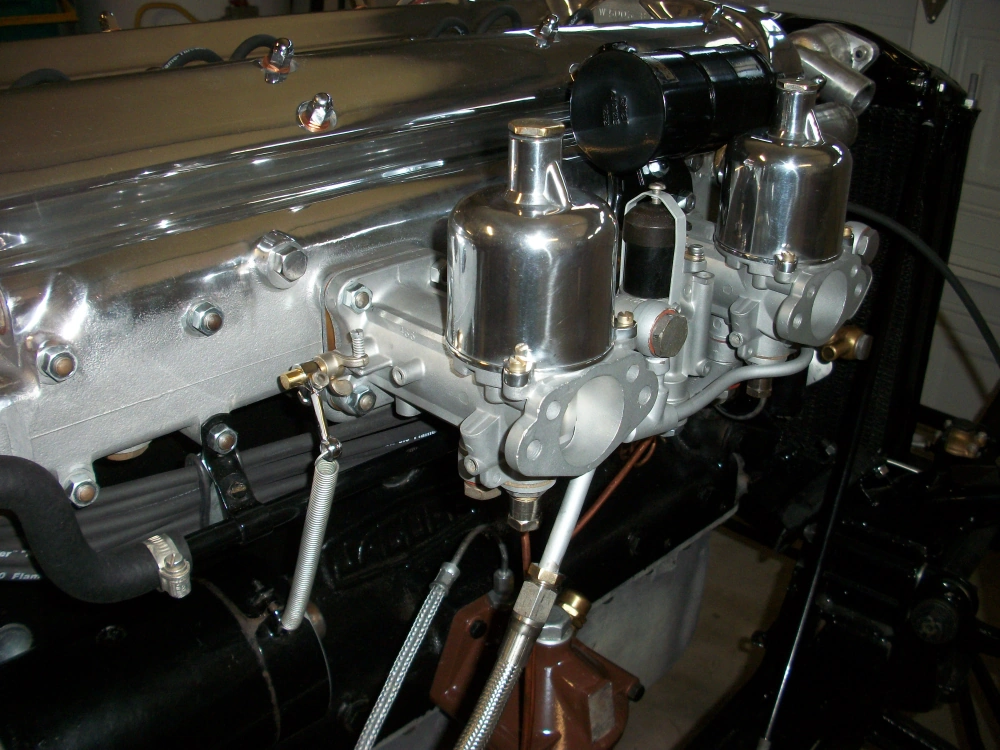

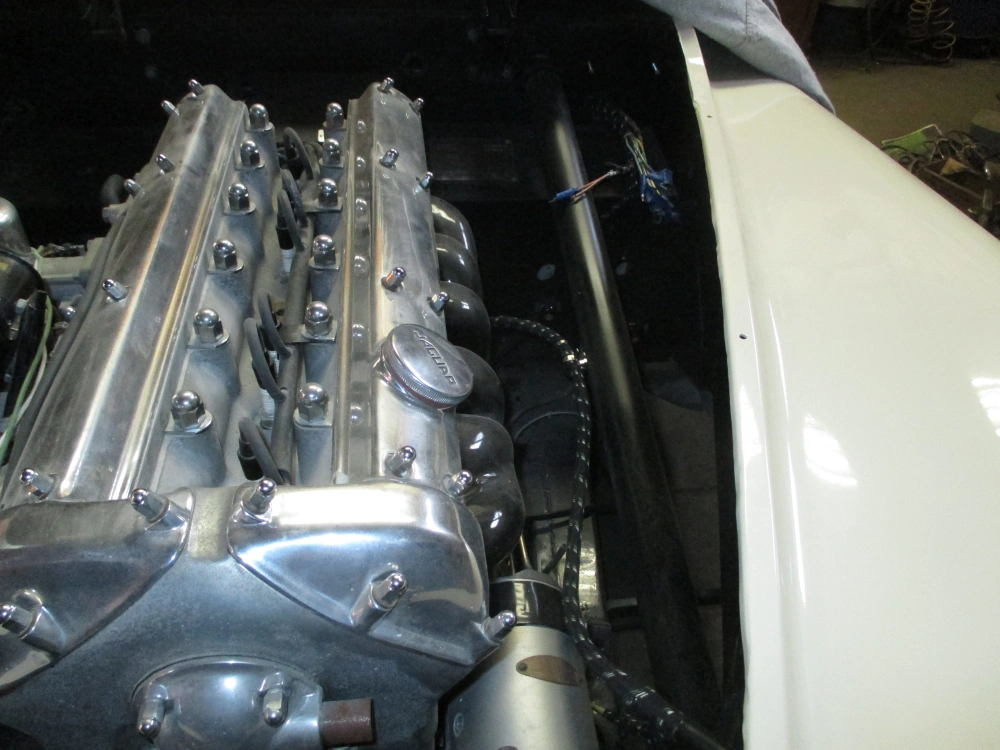












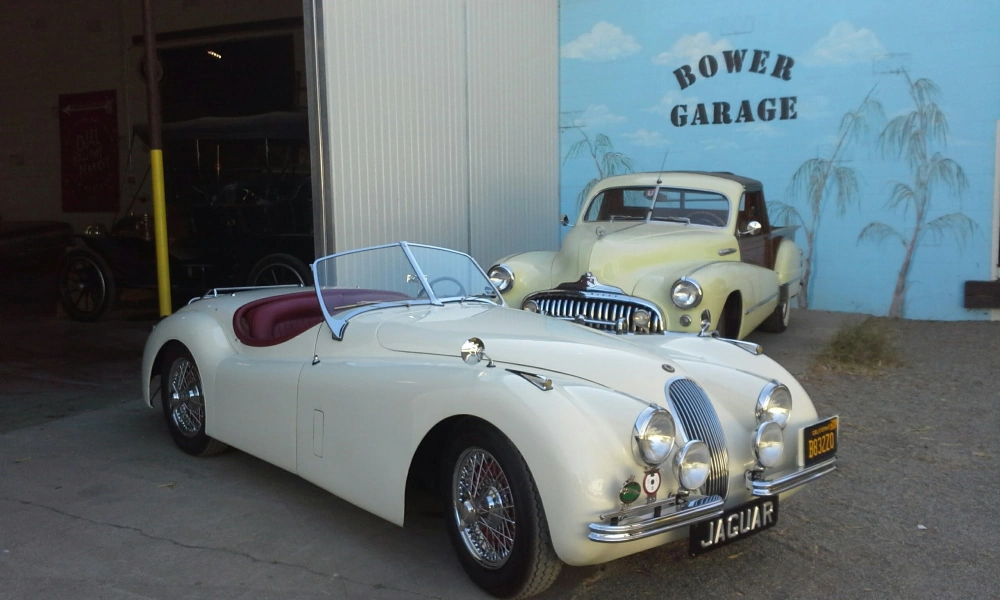
Next to my newly restored Jaguar XK120, is an early fifties modified Buick “woody” pickup truck,
belonging to my friend Dwayne Bower. Barely visible just inside the door, is a 1909 Cadillac touring car.
Bob’s XK120 Short Driving Video – After Restoration
Below: a short YouTube video of Bob and his newly restored XK120 in Ojai, California around 2016.
NOTE: My car now has a Tremec 5-speed transmission. So glad I swapped transmissions.
